I always dreamed of entering a pie in the county fair and winning blue.
Silly, but it seems like one of those homemaker kinds of things my grandmother would have done and, no lie, I dream of being like her. She was an amazing woman. But her pies, though most likely blue-ribbon, were difficult. My grandma was a cold-lard-cut-into-her-flour pastry kind of woman, and I’m sorry, but I don’t have time for that. Also, gross. Tiny bit.
I do things a little differently, but cross my heart, this pastry recipe is FAIL PROOF. Even for the most reticent of pie-crust makers. Trust me on this, okay? It’s simple. No lard or ‘cutting in” involved. And I think, despite my divergence from tradition, grandma would approve.
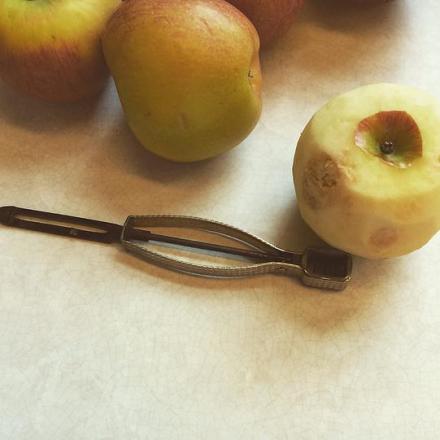
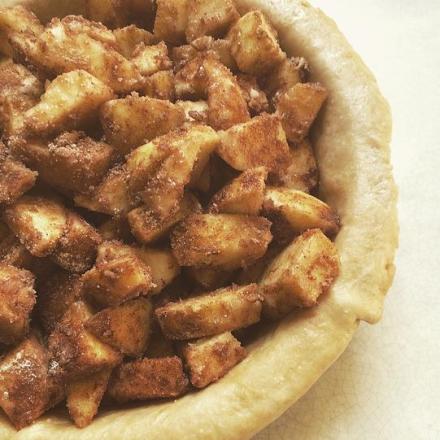
The apple filling recipe is pretty basic: 5-6 apples, peeled, sliced and chopped into bite size pieces. Mix them in a bowl with 1/4 cup sugar, 1/4 cup flour, 1 tablespoon cinnamon, and 1/2 teaspoon nutmeg.
Set them aside.
PIE CRUST
1 3/4 Cup flour + 2 tablespoons (or as needed should the dough be too moist).
1 1/2 teaspoon salt
2/3 cup water
1/2 cup Vegetable Oil
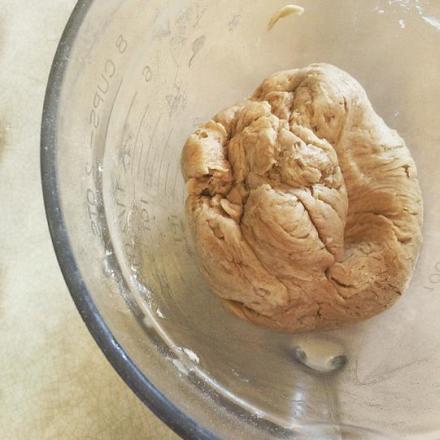
Mix all four ingreedients together until a ball of dough forms. It will be perfect when it pulls cleanly away from the sides of the bowl. Divide it in half—one half will be used for the top crust and the other for the bottom.
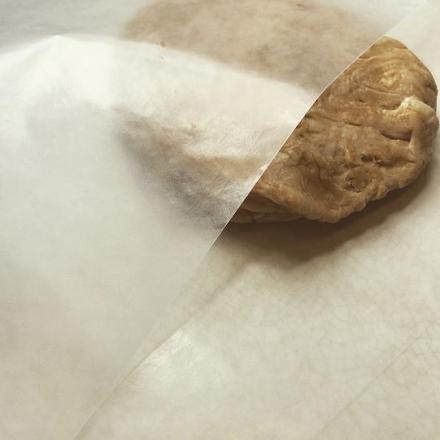
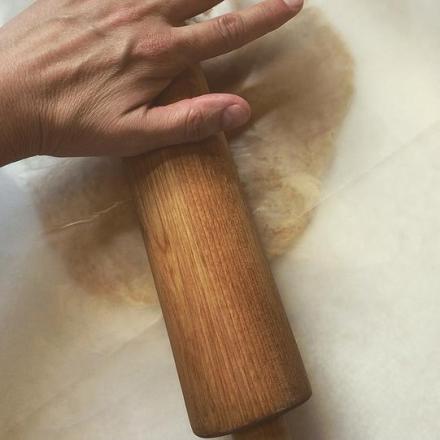
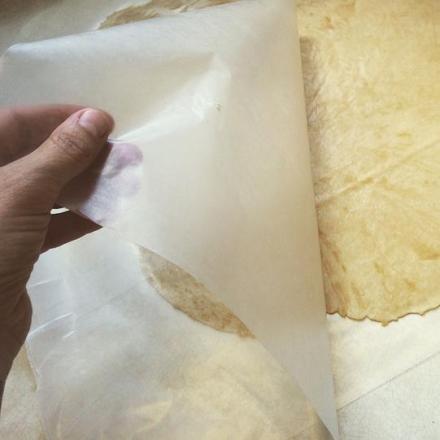
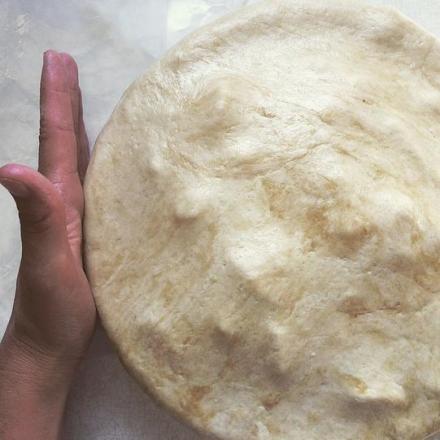
Take the first ball of dough and lay it between two sheets of wax paper. Using a rolling pin, roll it out until it is roughly 5-6 inches wider than the pie plate you intend to use, all the way around.
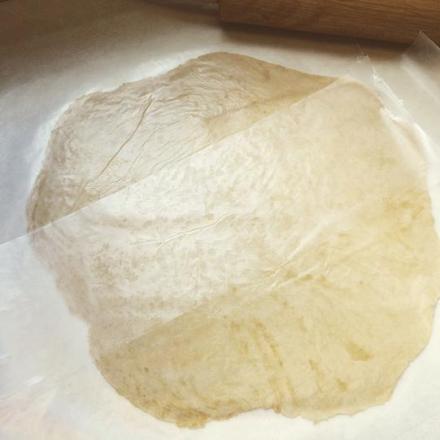
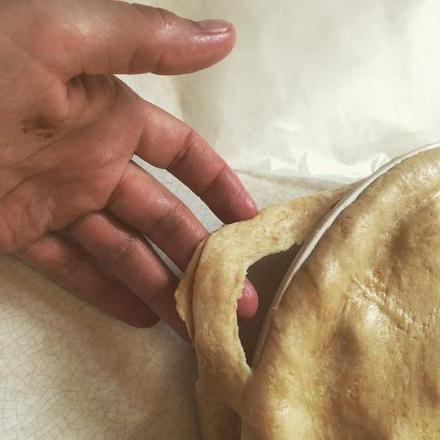
Gently peel back the top layer of wax paper
Lift the dough, still attached to the bottom layer of wax paper and in a single fluid motion, flip it over and onto the pie plate, dough side down. Then gently peel back the bottom layer of wax paper, which is now on the top of the dough in the same way you would remove a sticker from it’s backing.
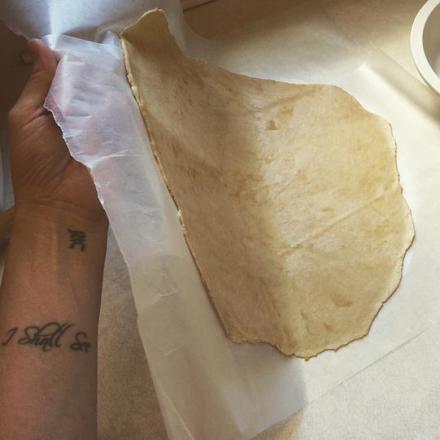
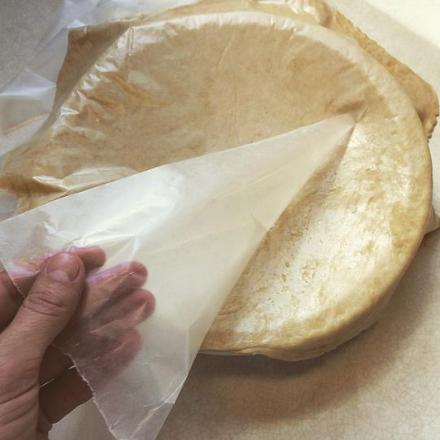
The dough will be elastic enough to handle without too much fear of tearing. Settle it into the pie plate and smooth out any wrinkles until it lays evenly. Make sure there is enough excess dough hanging off the edges of the plate to crimp with the top crust.

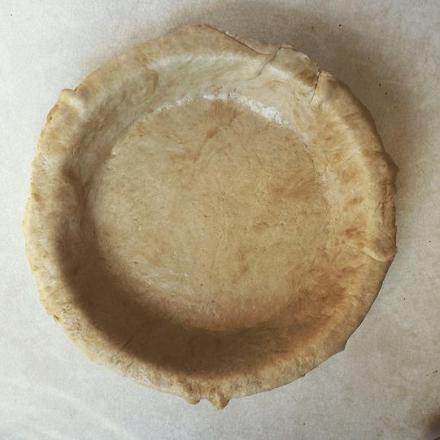
Now the pie-in-process is ready for the filling. Take the apple, cinnamon, nutmeg, flour, and sugar mixture and dump it into the prepared crust, tucking it down and evening it out with a spatula. You’ll want to be careful not to damage the bottom crust as the filling could leak out while it bakes.
And now for the top crust! Using the same technique as with the bottom crust, roll your second ball of dough between two pieces of wax paper. You can reuse the same paper you used before. It’s perfectly good for several pies, if you so choose. Once the top crust is draped over the plate, use the palms of your hands to press firmly against either side of the pie plate while turning it gently. In this way the excess dough will be trimmed from the edges.
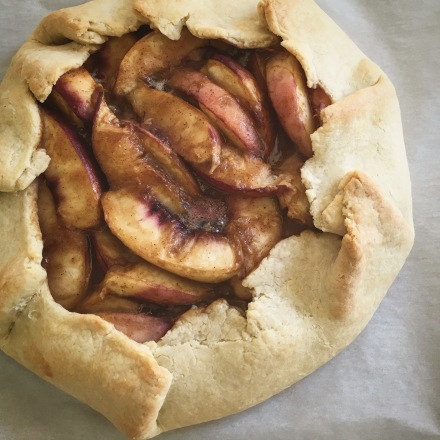
Remove the trimmed edges and set aside. You can either toss the excess dough or you can save it and make pie-crust cookies*.
Once the excess dough has been removed, you will need to crimp the edges of your top and bottom crusts together. This keeps the filling from leaking out of the pie while it bakes. There are lots of ways to crimp the edges of a pie, but my old standby is the simple pinch method. Using your thumb and first finger, push the edges of the dough together with the first finger on your other hand creating a sort of ripple effect.
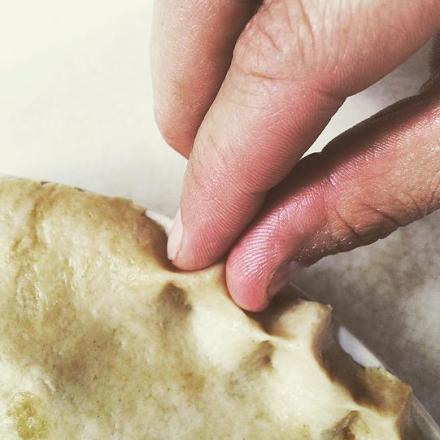
Ignore my scary alien hands. Ahem.
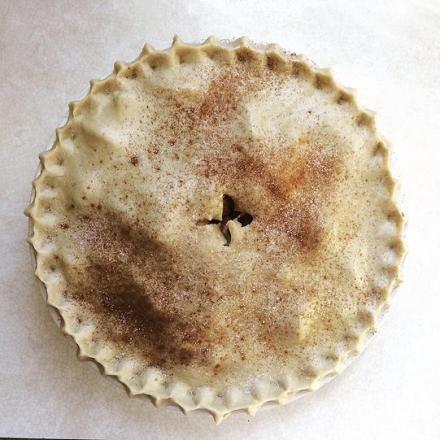
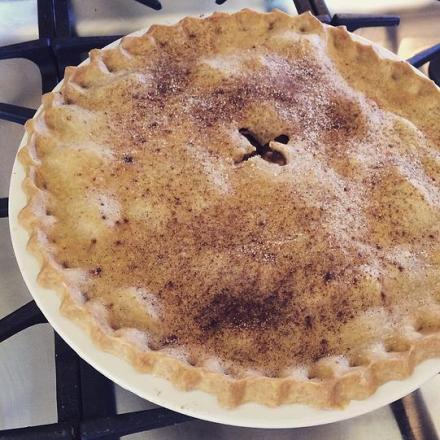
Once the edges are crimped around the whole pie, you can cut a hole in the top for steam to escape while the pie bakes. Sprinkle with sugar and cinnamon. Place in a 350 degree pre-heated oven and bake for 45-50 minutes or until the crust is browned and the filling is nice and bubbly.